Disabling the red/blue blinking LED on Tuya PIR sensors


I've recently been on an AliExpress buying spree, testing various Zigbee sensors and other smart devices.
One type of sensor I've had good experiences with is the cheap Tuya Motion (PIR) sensor.
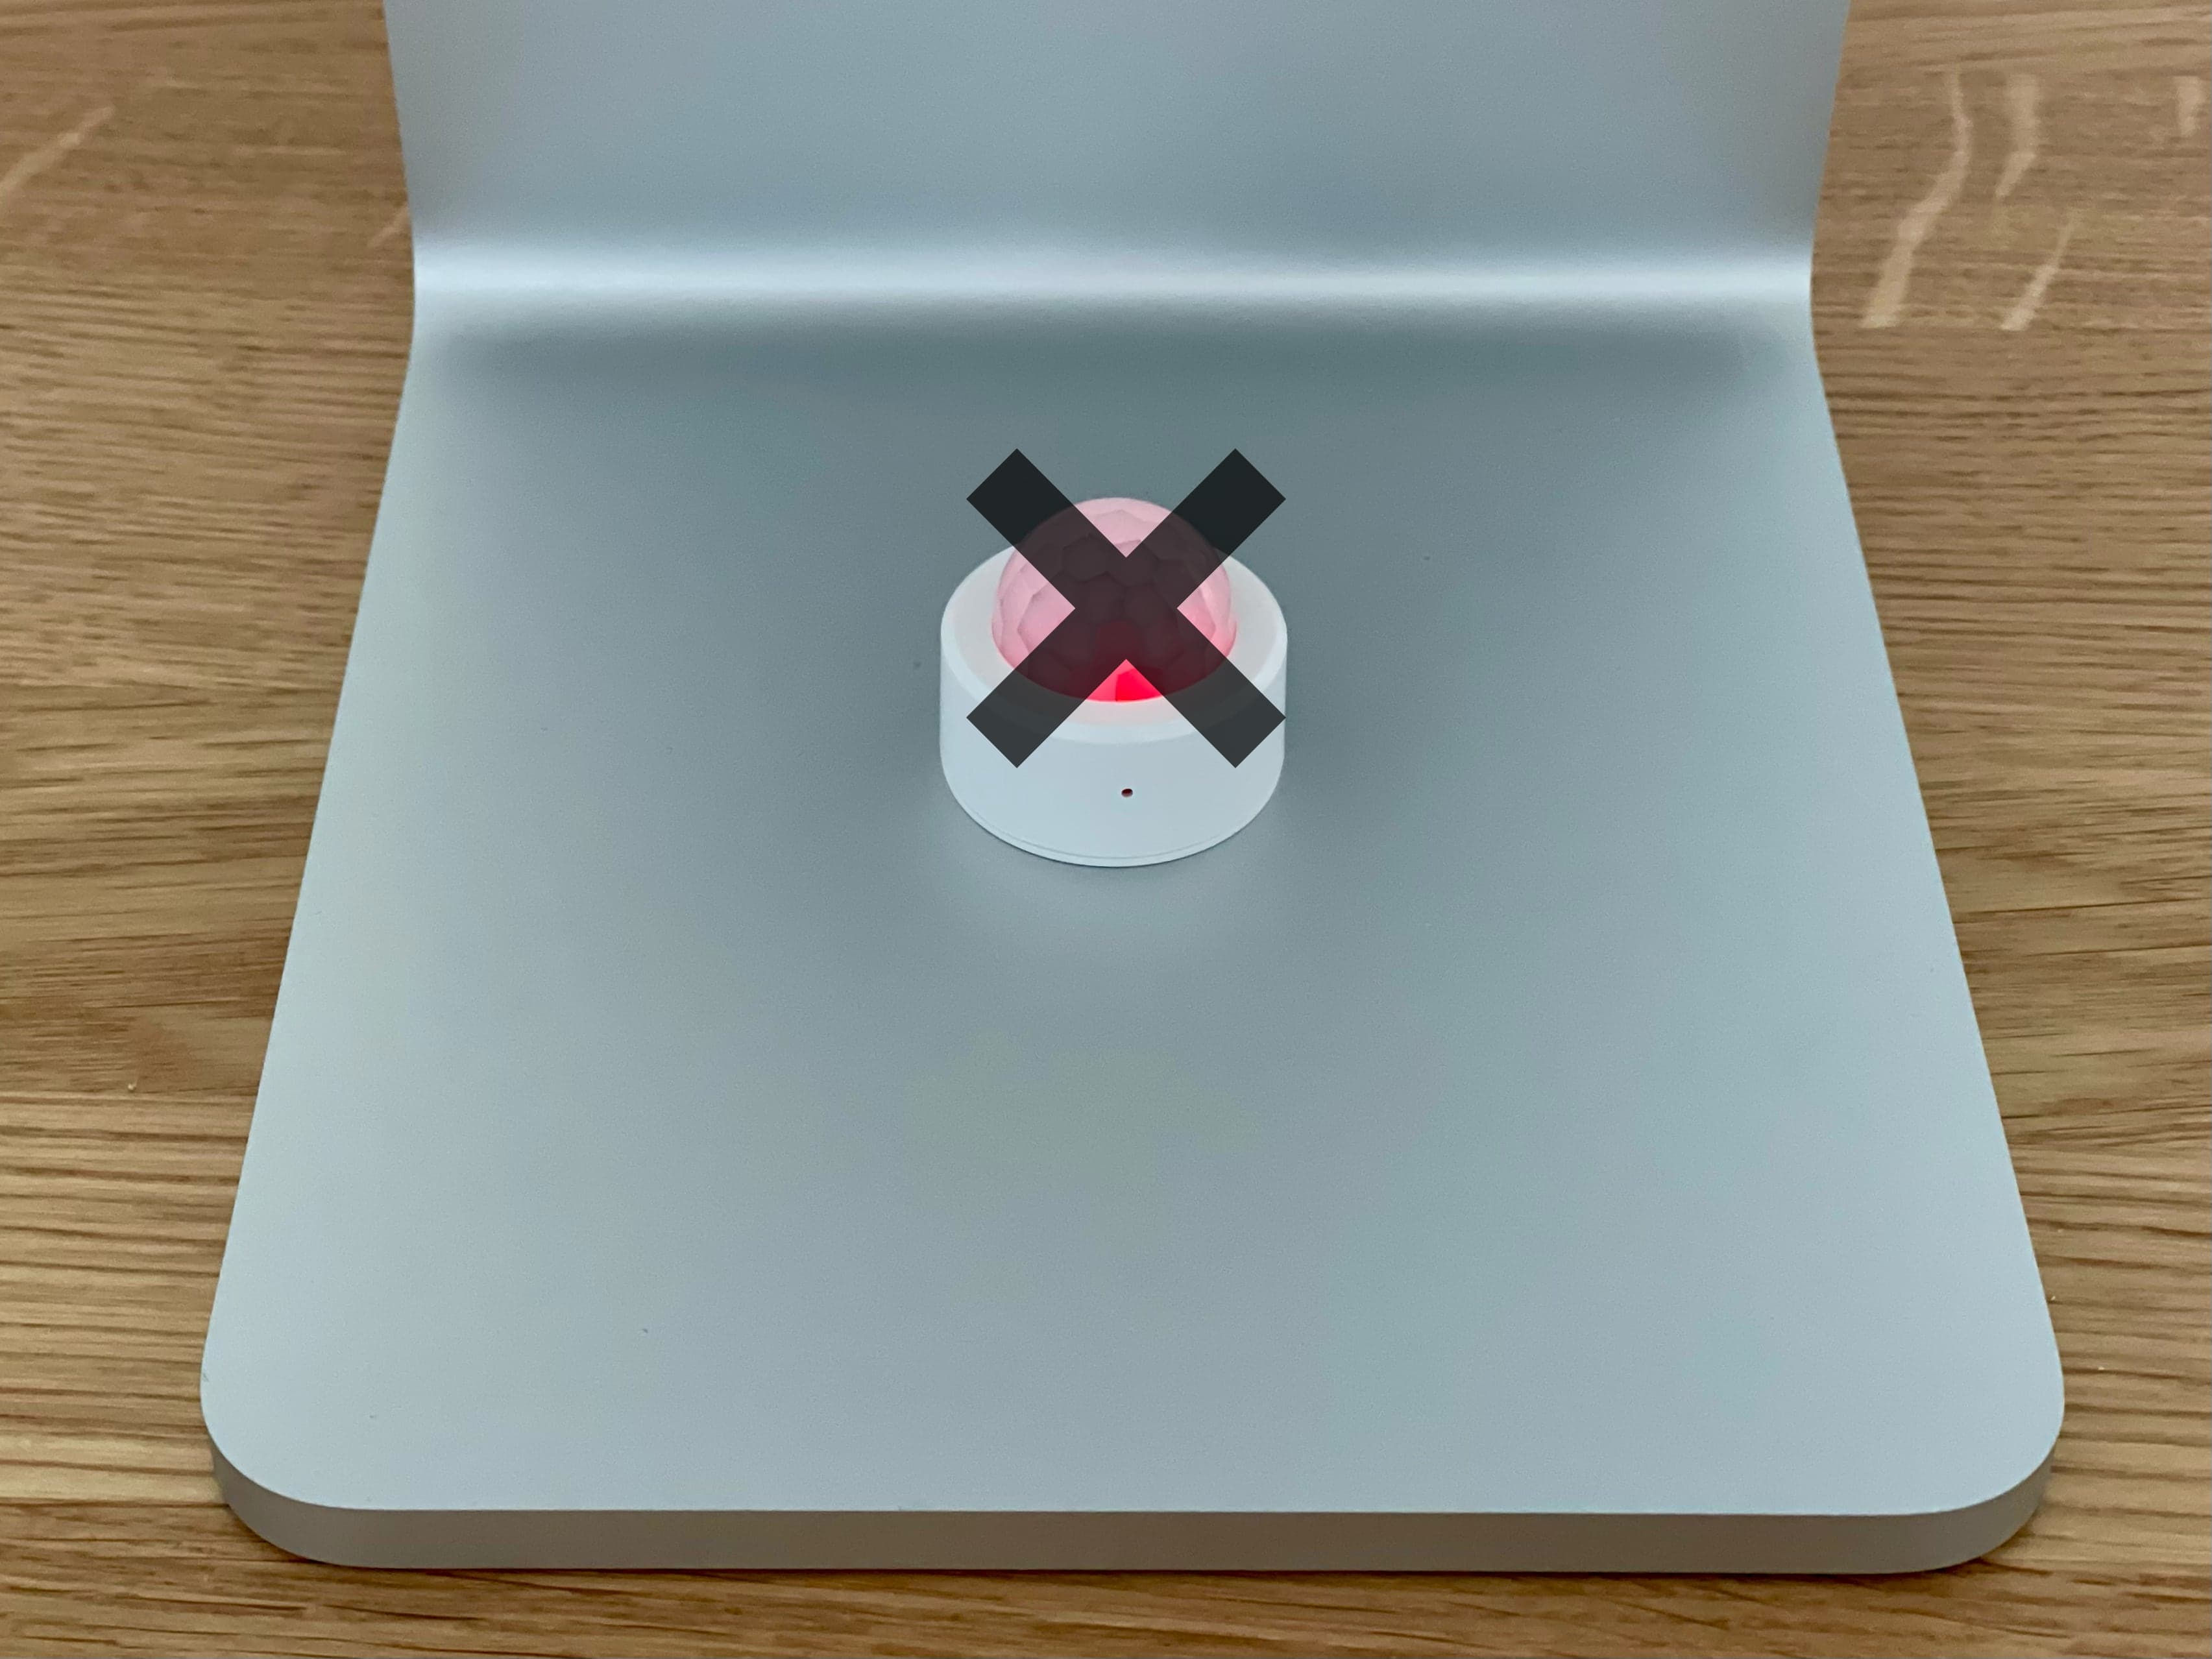
While these sensors may look similar, they actually come in a few different varieties. Some have a built-in lux meter (e.g. TuYa ZG-204ZL), some without (e.g. TuYa 809WZT). Some are round, some are square. Some with a blue LED, some with a RED. But they all cost about $4-6, making them ridiculously cheap.
In particular, the TuYa ZG-204ZL (seen in the photo above) is a nice sensor, as it lets you adjust things like sensitivity and cooldown time (anywhere between 10 and 120 seconds). If you use Zigbee2MQTT (Z2M), you can easily adjust everything in the Home Assistant UI.
However, one thing none of the sensors had any software options for doing, was disabling the annoying built-in LED that flashes bright red or blue (depending on the model).
One of the use cases I had for these sensors was to enable a gentle night light in the bathroom. But I quickly found it to useless for this since it flashed a bright blue light when I entered, lighting up a huge area and startling whoever entered.
Suffice to say, this didn't earn me any points with my spouse, nor with myself...
After quite a bit of Googling, the only solution I could find was to open up the sensor and break the LED.
While these sensors (like most cheap Tuya sensors) are easy to open, I felt like actually breaking the LED was a bit drastic.
Why not just cover it with electrical tape?
So that's what I did.
Disabling the LED with electrical tape
-
Open the back cover and remove the battery.
-
You can try pushing everything out by gently applying force to the dome on the other side (that worked with some of the lower quality ones), however you may need to use a small tool to pry the plastic cover below the battery out.
-
Remove the board itself and push out the three tabs holding down the dome.
-
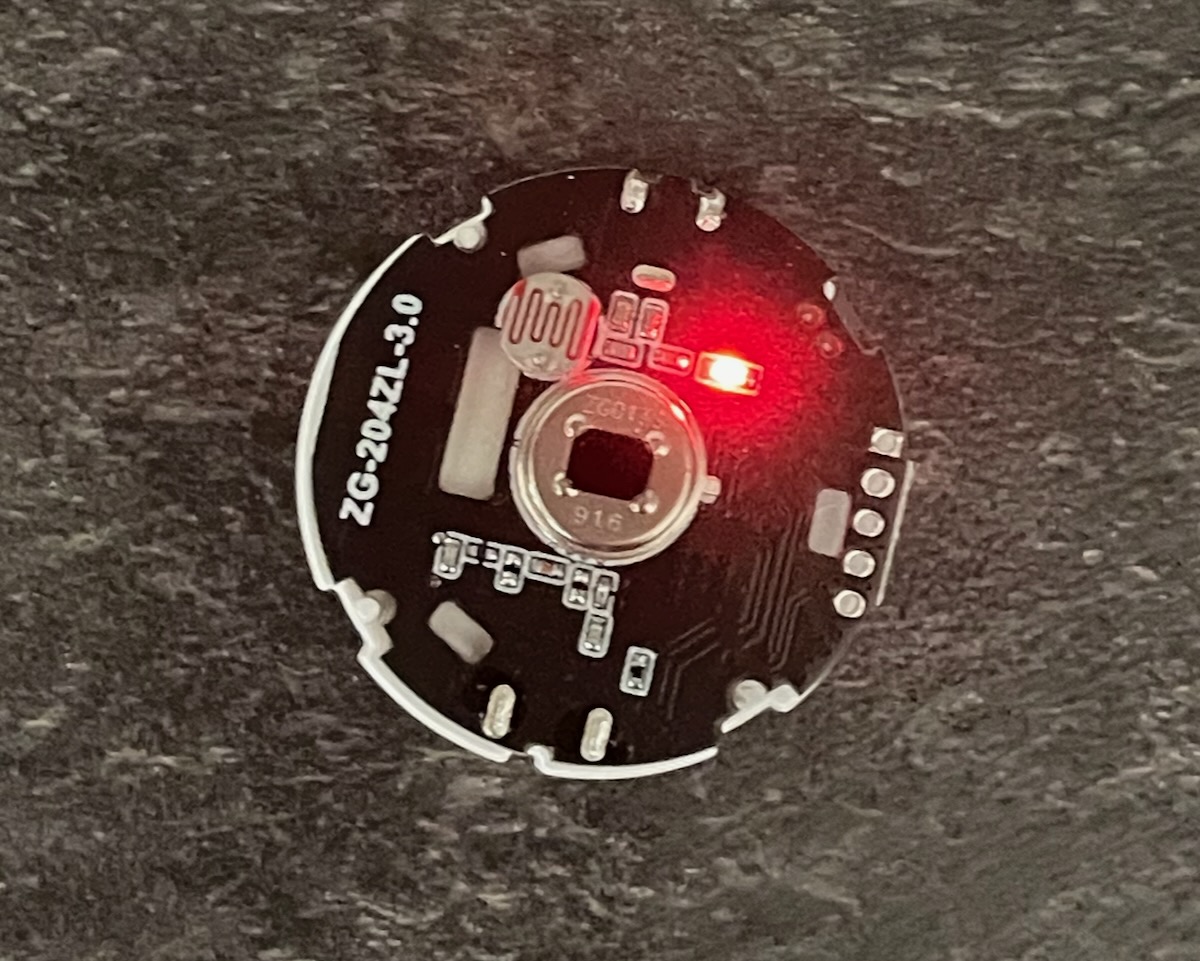
Hold the battery against the power terminals so that the LED will light up. Now you know which parts needs to be covered.
The exact location varies by model, but this is where you'll find it on the ZG-204ZL:

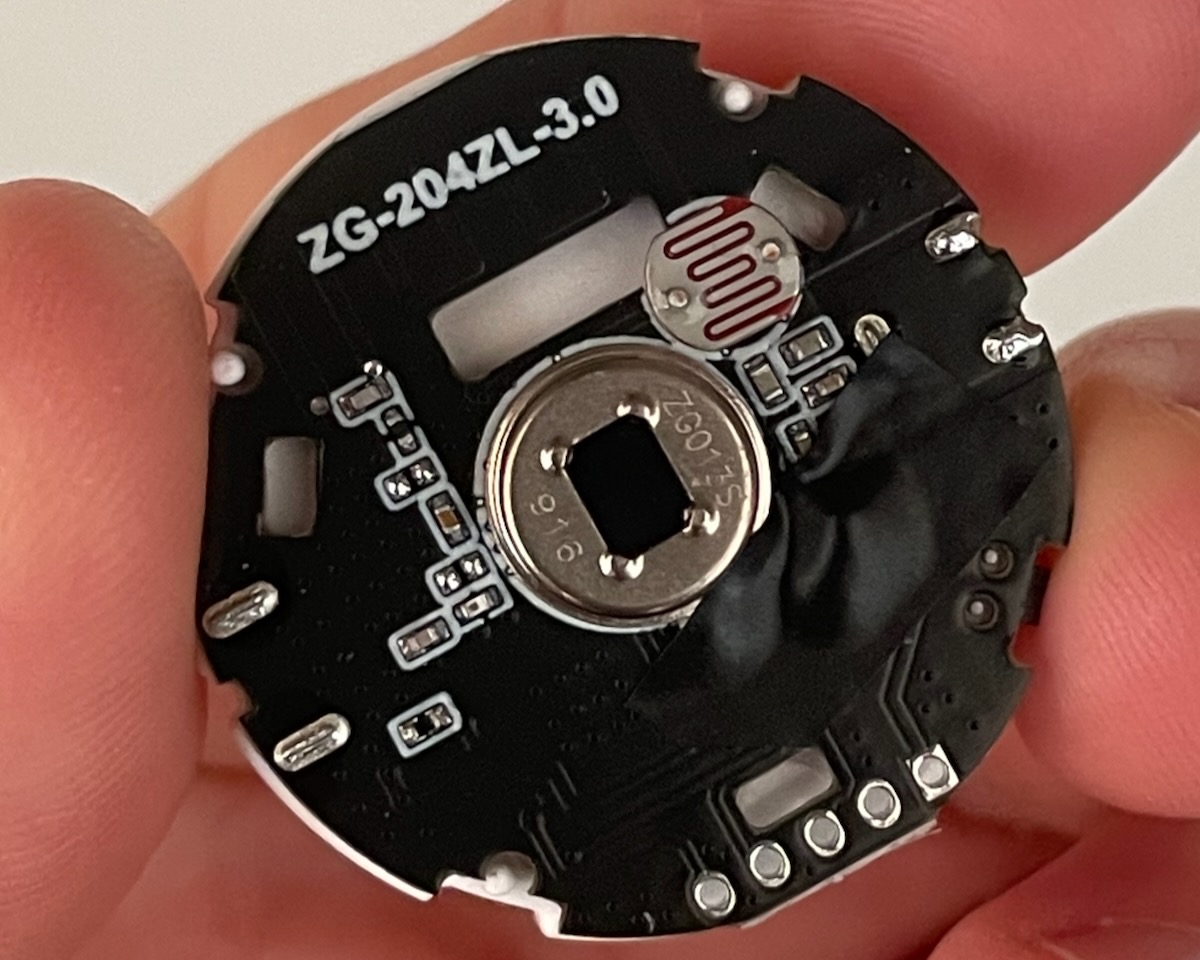
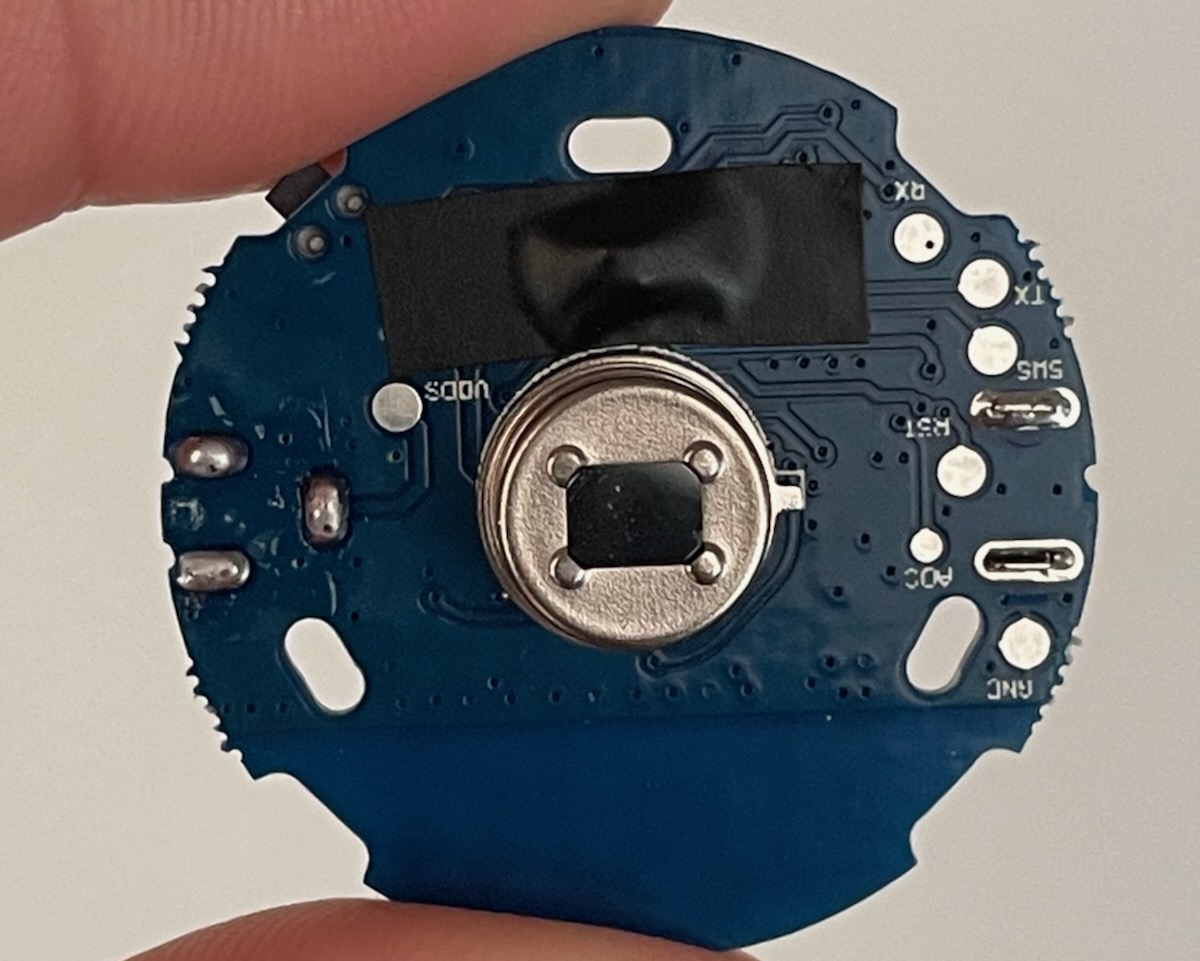
- Then apply the electrical tape, gently pushing it down on all sides of the sensor so no light gets emitted.
Here's how that looks on the ZG-204ZL:

And on the 809WZT:

- Now just reassemble everything and you're good to go. No more blinking LED!